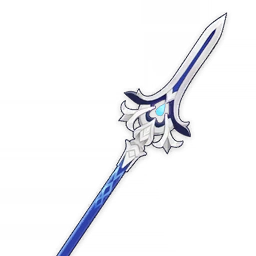
Thoma

Thoma

★★★★
Pyro
Polearm
Off-Field
Survivability
Builds Update5.5
Teams Update5.5
This section focuses on using Thoma as a trigger for Burgeon. Thoma's slow rate of Pyro application paired with frequent Fiery Collapse triggers make him a great option for Burgeon. Additionally, he provides defensive utility in the form of shields.

Best Artifacts

(2) Increases Elemental Mastery by 80.
(4) The equipping character's Bloom, Hyperbloom, and Burgeon reaction DMG are increased by 40%. Additionally, after the equipping character triggers Bloom, Hyperbloom, or Burgeon, they will gain another 25% bonus to the effect mentioned prior. Each stack of this lasts 10s. Max 4 stacks simultaneously. This effect can only be triggered once per second. The character who equips this can still trigger its effects when not on the field.
(2) Increases Elemental Mastery by 80.
(4) Within 8s of triggering an Elemental Reaction, the character equipping this will obtain buffs based on the Elemental Type of the other party members. ATK is increased by 14% for each party member whose Elemental Type is the same as the equipping character, and Elemental Mastery is increased by 50 for every party member with a different Elemental Type. Each of the aforementioned buffs will count up to 3 characters. This effect can be triggered once every 8s. The character who equips this can still trigger its effects when not on the field.
(2) Increases Elemental Mastery by 80.
(4) Increases Charged Attack DMG by 35% if the character uses a Catalyst or Bow.
(2) Increases Elemental Mastery by 80.
(4) Increases Charged Attack DMG by 35% if the character uses a Catalyst or Bow.
(2) Energy Recharge +20%
(4) Increases Elemental Burst DMG by 25% of Energy Recharge. A maximum of 75% bonus DMG can be obtained in this way.
(2) Increases Elemental Mastery by 80.
(4) Within 8s of triggering an Elemental Reaction, the character equipping this will obtain buffs based on the Elemental Type of the other party members. ATK is increased by 14% for each party member whose Elemental Type is the same as the equipping character, and Elemental Mastery is increased by 50 for every party member with a different Elemental Type. Each of the aforementioned buffs will count up to 3 characters. This effect can be triggered once every 8s. The character who equips this can still trigger its effects when not on the field.
(2) Energy Recharge +20%
(4) Increases Elemental Burst DMG by 25% of Energy Recharge. A maximum of 75% bonus DMG can be obtained in this way.
(2) Pyro DMG Bonus +15%
(4) Increases Overloaded and Burning, and Burgeon DMG by 40%. Increases Vaporize and Melt DMG by 15%. Using Elemental Skill increases the 2-Piece Set Bonus by 50% of its starting value for 10s. Max 3 stacks.

Best Stats

Sands
Energy Recharge / Elemental Mastery
Goblet
Elemental Mastery
Circlet
Elemental Mastery
Substats
Energy Recharge / Elemental Mastery / HP% / HP / CRIT Rate
While building as much Elemental Mastery (with enough Energy Recharge) as possible is optimal for damage, you may use some HP% mainstats if you desire a stronger shield. This can be relevant if running teams without other forms of defensive utility outside of Thoma's shields, and it's worth keeping in mind that Burgeon deals self-damage. Energy Recharge substat until requirement is met. *Crit Rate substat is only useful if using Favonius Lance.

Best Weapons

Base ATK565
Elemental Mastery+110
SourceForging
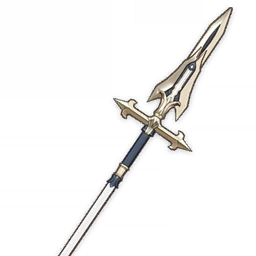
Samurai Conduct
Increases Elemental Skill DMG by 6~12%. After Elemental Skill hits an opponent, the character loses 3 Energy but regenerates 3~5 Energy every 2s for the next 6s. This effect can occur once every 10s. Can be triggered even when the character is not on the field.
High refinement is recommended to further reduce Thoma's Energy Recharge requirements
Base ATK565
Energy Recharge+61.3%
SourceWish
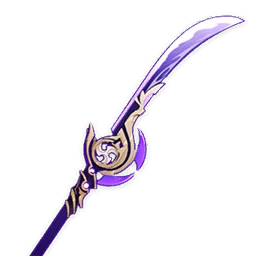
Windfall
CRIT Hits have a 60~100% chance to generate a small amount of Elemental Particles, which will regenerate 6 Energy for the character. Can only occur once every 12~6s.
If using this weapon, try to build some Crit Rate so Thoma can trigger the passive.
Base ATK454
Elemental Mastery+221
SourceWish
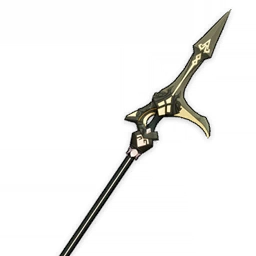
Bane of Flame and Water
Increases DMG against opponents affected by Hydro or Pyro by 20~36%.
Becomes a more reasonable option when you have Thoma's [C4].
Base ATK565
Elemental Mastery+110
SourceForging
Stillwood Moonshadow
After triggering Burning, Quicken, Aggravate, Spread, Bloom, Hyperbloom, or Burgeon, a Leaf of Revival will be created around the character for a maximum of 10s. When picked up, the Leaf will grant the character 16~32% ATK for 12s. Only 1 Leaf can be generated this way every 20s. This effect can still be triggered if the character is not on the field.
Base ATK354
HP+46.9%
SourceWish
Bane of the Soft
Increases DMG against slimes by 40~80%.
Base ATK565
HP+27.6%
SourceForging
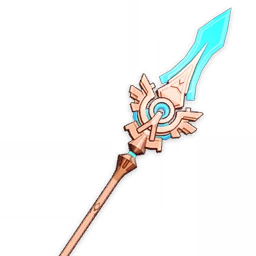
Tip of the Spear
When the wielder is healed, restore 8~16 Energy. This effect can triggered once every 10s, and can occur even when the character is not on the field.
In teams where you are able to heal Thoma consistently (overhealing also counts), Rightful Reward can be a reasonable option due to the amount of energy generation.